
Some 4 or 5 years ago, my sister Joan gave me a very handy Japanese kitchen knife. I liked it so much that I used it almost every time I cooked. But the wooden handle began to rot where the blade was attached. I thought it would be fun to make a new handle.
As is typical with most projects I do, there were a few fails before I got what I wanted. And the fails were interesting enough so that I didn’t mind.
The first step was to make a handle blank out of cut down pine 2 by 4 and round the edges. That was easy. I wanted to use metal rivets to attach the blade to the handle–a standard way of making knives. I bought a box of copper rivets on Amazon. People use them for making leather things like saddles. All you do is drill a hole, insert the rivet, add a washer on the other side, and pound the free end down with a ball peen hammer to make it tight. I did some practice runs. Split a few handles before I learned to do the hammering gently.
The next step was to drill 2 holes in the tang. The blade is stainless steel, which is much harder than ordinary steel. My regular drill bits wouldn’t dent it. So I bought some cobalt bits on Amazon and tried again. This time the bit simply melted. I gave up for a few days.
I went to YouTube for help and found a guy repairing a Japanese knife. His way of attaching the tang was very smart. He cut a piece of dowel about 3 inches long, then sawed it in half vertically. Next, he drilled a hole in the handle for the dowel. Finally, he made a sandwich of the dowel halves and the tang and inserted it into the handle with some glue. So I did that. Finally, I finished the handle with mineral oil to make it waterproof.
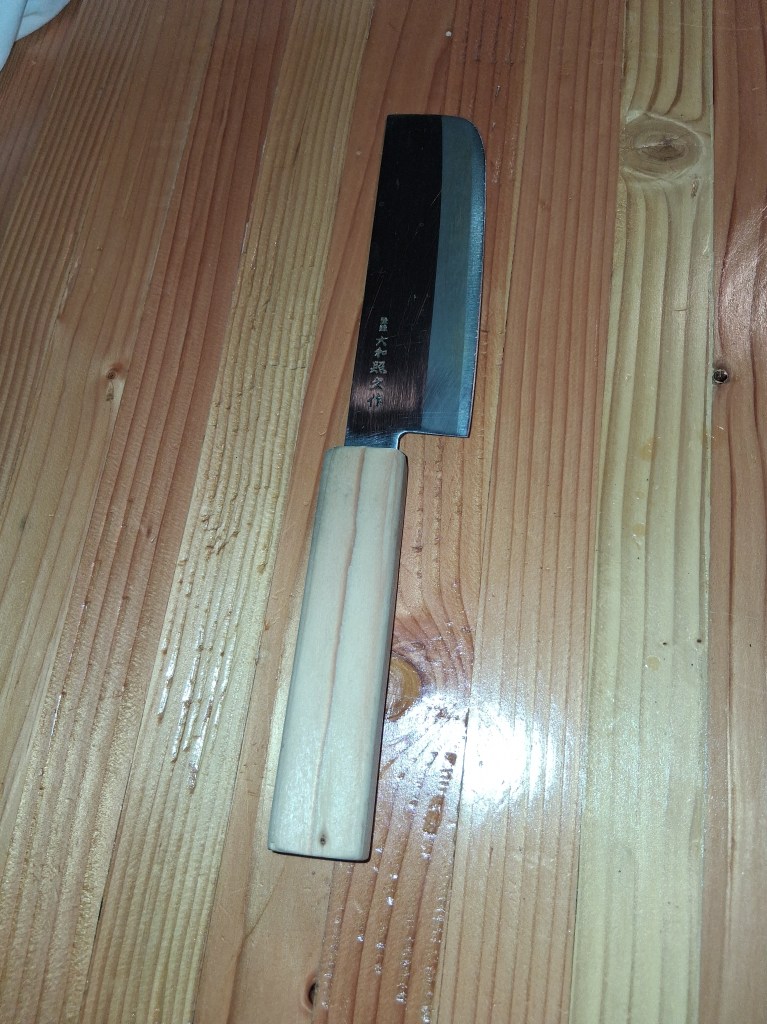
The picture above is the newly repaired knife. Of course, I could have bought a similar one for $20 and saved time and effort. But I like to say that given the right tool I can fix anything.
More recently, I tried to repair my old gas clothes dryer by replacing a few parts. Nearly burned the house down, but that’s another story.
